User Management
Welcome to the Smart Tracker User Management guide. In this comprehensive guide, you'll learn how to effectively manage user accounts, configure role-based permissions, and implement security best practices to protect your organization's sensitive health data.
What You'll Learn
- ✓ How to manage roles and permissions
- ✓ Creating and editing user accounts
- ✓ Resetting user passwords securely
- ✓ Implementing the principle of least privilege
1. Accessing User Management
To begin managing users, click User Management in the left sidebar. This opens the User Management section where you can access Roles, Users, and Temporary user settings. The interface provides a clean, organized view of all user administration functions.
1
Click "User Management" in the sidebar navigation
2
View the available tabs: Roles, Users, and Settings
3
Navigate between sections to manage different aspects of user administration

2. Managing Roles
Within the Roles tab, you can view all system roles including Admin, Care Coordination, Chanda Center Provider, Community Partner Provider, Finance, and Front Desk. Each role has specific permissions that control what users can access and modify.

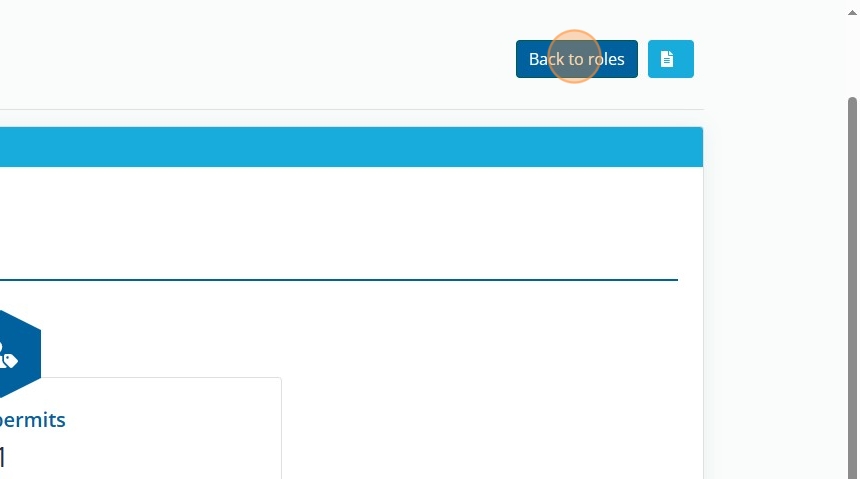
Viewing Role Details
When viewing a role, you'll see all permissions assigned to that role. This helps you understand exactly what users with this role can do in the system.
1
Click the eye icon next to any role to view its details
2
Review all assigned permissions for that role
3
Click "Back to roles" to return to the roles list
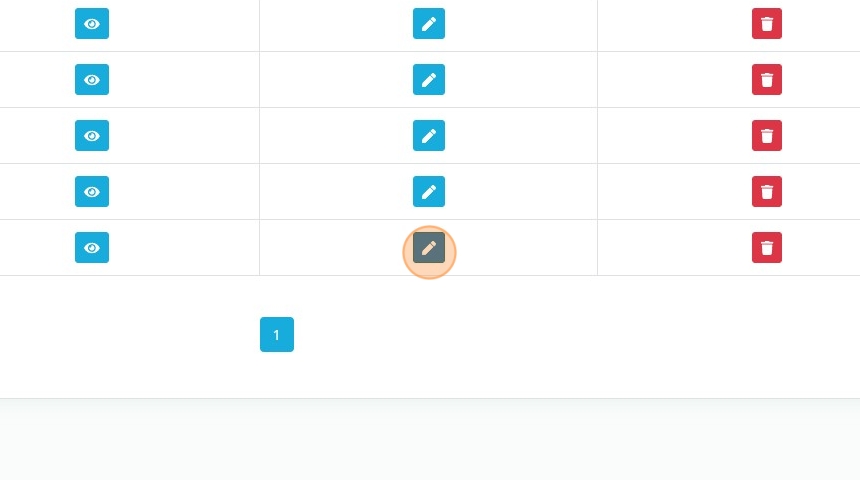
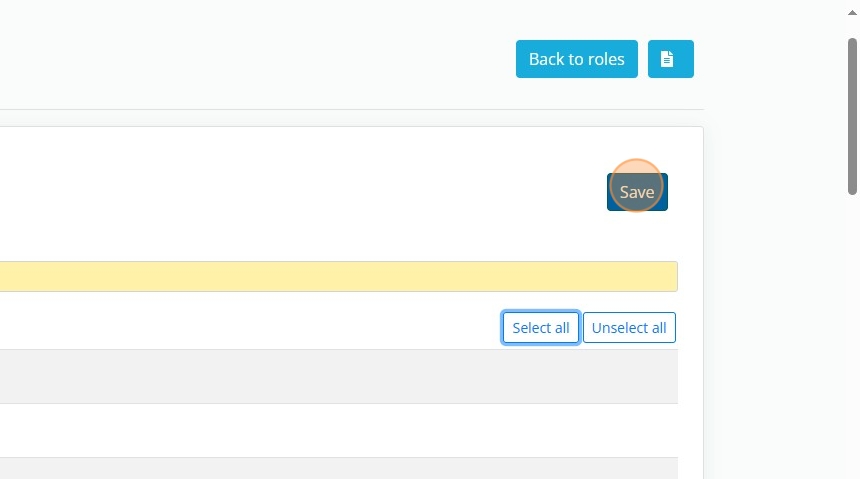
3. Editing Role Permissions
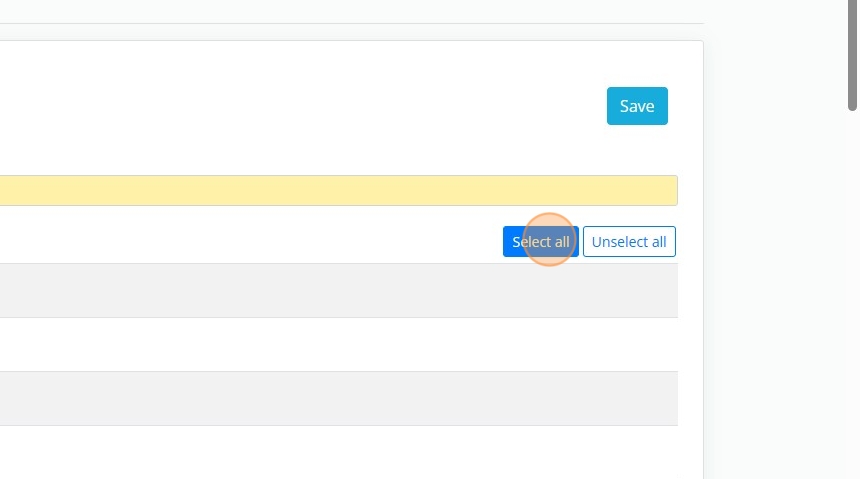
To edit a role, click the pencil icon. You'll see a comprehensive list of permissions organized by category. Scroll through the permissions and select the checkboxes to add permissions to the role.
⚠️ Important: Principle of Least Privilege
Smart Tracker offers granular permission control. Carefully select only those permissions needed for the role. This principle of least privilege ensures users have access to exactly what they need, nothing more.
1
Click the pencil icon next to the role you want to edit
2
Review permission categories and understand what each permission grants
3
Select checkboxes for permissions this role should have
4
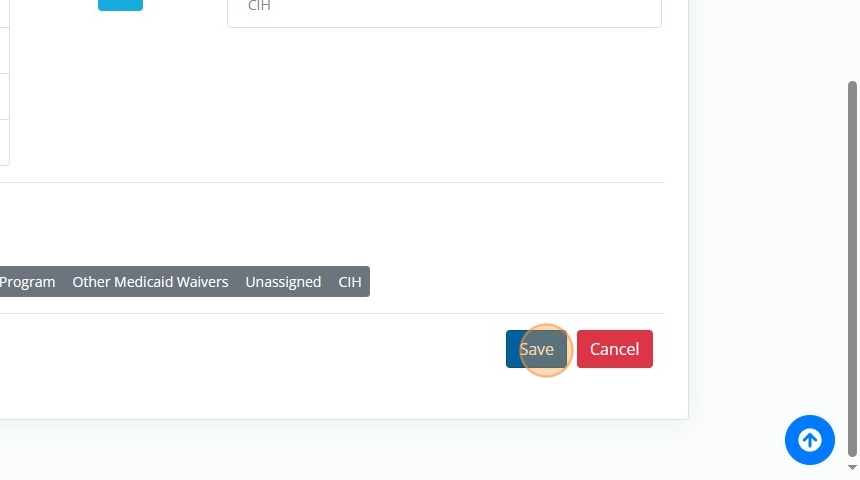
Scroll to the bottom and click "Save" to apply changes
4. Managing Users
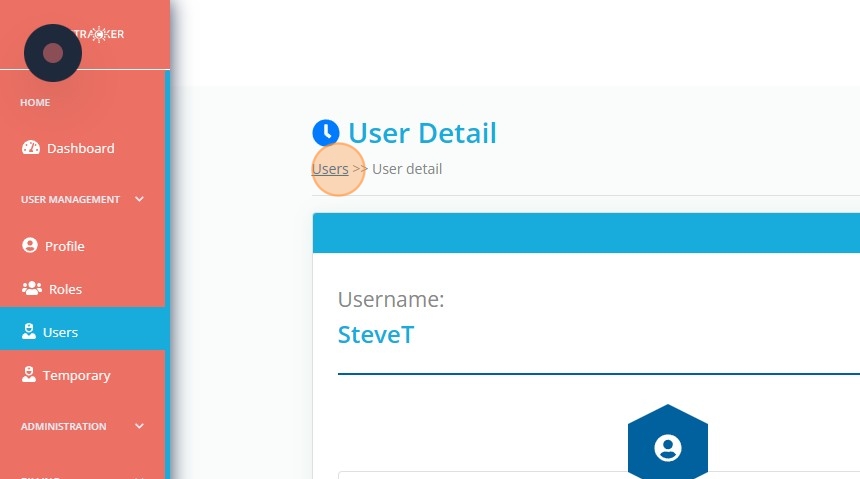
Viewing User Details
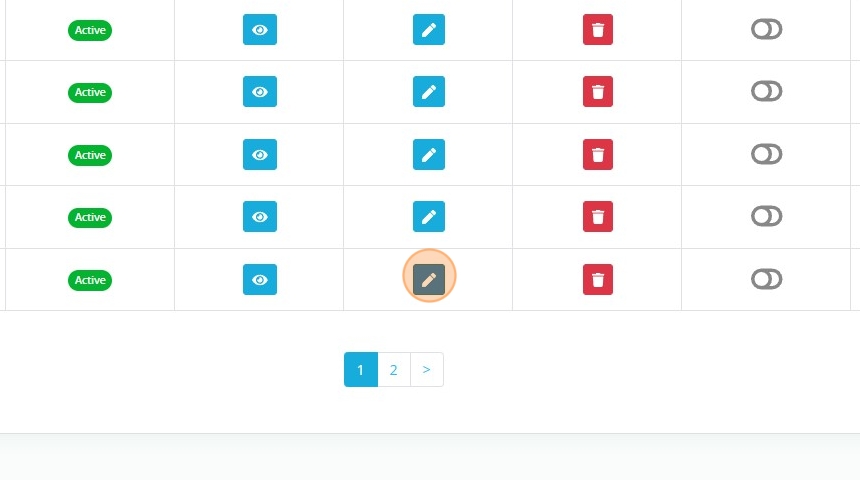
In the Users tab, click the eye icon next to any user to view their complete profile. This shows their personal information, assigned roles, and account status.
Editing User Profiles
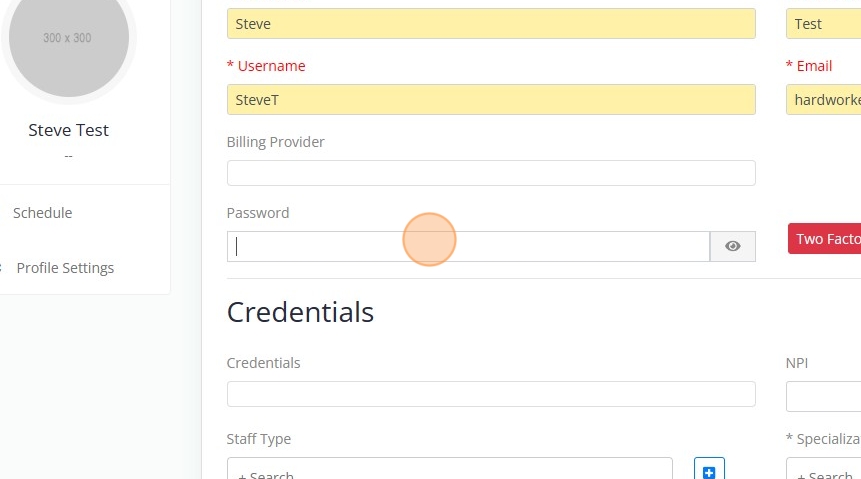
To edit a user, click the pencil icon. You can modify their profile information including name, email, phone, and role assignments. This is where you control which roles and therefore which permissions each user has in the system.
1
Click the pencil icon next to the user you want to edit
2
Update profile information (name, email, phone, etc.)
3
Modify role assignments to change user permissions
4
Click "Save" at the bottom to apply all changes
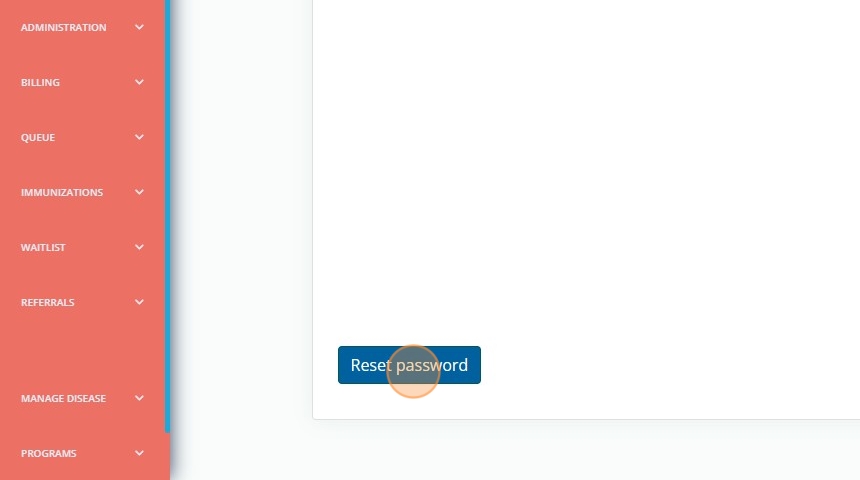
5. Resetting User Passwords
To reset a user's password, navigate to their profile by clicking edit, scroll down to the bottom of the page, and click Reset Password on the left side. This will send an automated email to the user with instructions to create a new password.
✓ Security Best Practice
This is a secure way to help users regain access to their accounts. The system never displays passwords to administrators, maintaining security and compliance with healthcare data regulations.
1
Navigate to the user's profile by clicking the pencil icon
2
Scroll down to the bottom of the user profile page
3
Click "Reset Password" on the left side
4
Confirm that the reset email has been sent to the user